The everlasting jon boat. In Chesapeake Bay country, this small, sleek, and simple vessel is synonymous with weekender crabbing, river fishing, and pleasure “cruising” the many ponds and small lakes that dot our region. It’s an layman’s vessel for sure, but as utilitarian as a boat can be made. And their otherworldly buoyancy can put you on fish in the skinniest of water. It’s been remarked on more than a few fishing trips that, “A jon boat kin float ya in the rainwater of a tractor rut.”
To appreciate the jon boat experience is to live it and to make the most rudimentary boat on the market you’re very own. For some, that involves buying new and outfitting it with state-of-the-art electronics and structural enhancements (fishing decks). For others, such as myself, there is the hunt for an old make and model, followed by patient restoration, and the rebirth of a tried-and-true vessel. No matter the degree of project difficulty, a jon boat restoration and customization can be a rewarding experience.
A Gem in the Rough
My jon boat journey began 15 years ago with a shabby looking vessel occupying space in a neighbor’s lawn. An old Starcraft aluminum, probably dating from the late-1970s. It was downtrodden and probably wasn’t going to see a river or lake had I not rescued it from the clutches of backyardom. Common to such a find, this 12-footer had been painted numerous times—badly at that—in camouflage tones. The wooden bench seating was in the beginning stages of decomposition. And it’s trailer was rusted, tires rotten, and lights…non-existent. It would need a complete restore to make this jon boat water-ready, trailerable, and pleasing to the eye (quite necessary to appease my wife.)
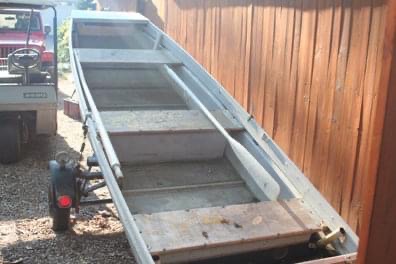
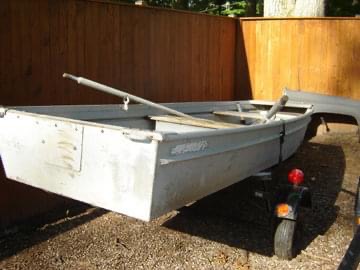
The trailer, itself, was the easiest part of the project to bring up to snuff. It’s frame was in sound condition and required a thorough cleaning, followed by a coat of rust preventing paint (Rust-oleum Rust Reformer is a quality spray product that’ll hold its own for a season or two before recoating is needed). The metal fenders received the same treatment, topped by a coat of white paint. In hindsight, I would recommend replacing old fenders with new, plastic-molded fenders (which will not rust). To make the trailer operable, I removed the old wiring, tires, severely broken hubs, bearings, and rusted hardware (lots of nuts and bolts). All of this was replaced with new product available via local retailers and online. Myself being a novice, I found the installation process for each part fairly easy. I had a trailer, on to the boat.
The restoration of the aluminum hull, inside and out, is a straightforward process: strip the old paint; wash thoroughly; prime coat; base coat; finish coat. How you do it and which products you use, can be a challenge.
To begin, I placed the boat on risers, upside down. Stripping old paint is a very labor-intensive process, of which there are many ways to do so. There are paint thinners, chemical gels, and liquids that can simplify and accelerate the removal, but they are not environmentally friendly. For a backyard project, count them out. On the expensive side are power tools specifically designed for paint stripping. I chose middle-of-the-road and purchased a wire-brush drill attachment made for the job (here’s one available at the big box stores). Using a drill to remove paint is incredibly tedious and requires a minimum of two rechargeable drill batteries to maintain continuous workflow. You are literally putting metal to metal, removing paint, one small patch at a time. Dust masks are necessary, as are safety glasses.
After completely stripping the hull of its multi-layered camo coat, it was bath time; an important step to degrease and clean the hull before painting. Simple Green is a favorite product because it’s non-toxic and biodegradable. Just like washing a car—hose in one hand, soapy rag in the other—this step is easy. At this stage, give the hull a thorough inspection, looking for any pinholes or gashes; anything that would compromise the water-tight integrity of the hull. If you’re lucky, as I was, and have no holes, then it’s on to painting. For the unlucky ones, you’ll need to repair and seal the hull (J-B Weld for pinholes, an aluminum patch and weld for bigger leaks).
Before putting paint brush to metal and thinking aesthetics, it important to think metallurgy and science. Paint does not easily bond to metal and for a jon boat—or any boat—you want as long-lasting a paint job as possible. Enter priming, which as anyone who’s painted a house can tell you, is as important as the final coat. The prime coat eats into the metal, bonds with it, and provides a base to which your aesthetic coat of paint can stick. I chose a spray product specifically made to prime aluminum (Rust-oleum Clean Metal Primer).
For the base and final coat, I wanted a durable, marine-grade, and beautiful paint. Yes, it sounds a little funny to talk about making a jon boat—the most simple and made-to-take-a-licking boat there is—beautiful, but the end result had to please me, my wife, and, yes, the neighbors who get to look at this gem in our driveway year-round.
I have heard of folks painting their jon boat hulls with truck bed liner (Herculiner is one such product), which is probably the most durable of all paintable materials. Problem is, it adds too much weight and could render your vessel sinkable. Not worth trying in my opinion.
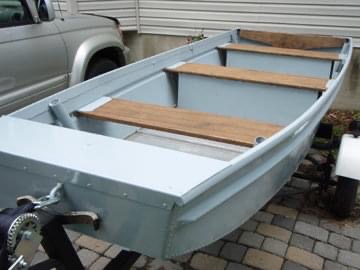
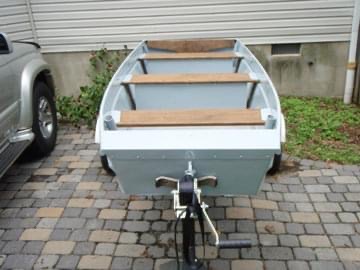
Since my jon boat would be trailered and never left in-water for a full season, I did not need to bottom-paint with antifouling paint. Instead, I chose Interlux Brightside Polyurethane Paint in the color Kingston Grey (a gorgeous finish that has a light blue quality). Two coats of Interlux did the trick (a third coat is recommended though). I then flipped the boat and repeated the entire process for the inside of hull, gunwales, bow, and stern. I omitted painting the floor.
One thing to note. If you’re working outdoors, I highly recommend setting up a canopy above your workspace. I have an EZ-Up, which worked nicely, preventing any rain, leaves, and the like from ruining a freshly cleaned or painted surface.
Finishing the aesthetics of the boat required touching up and re-varnishing the wooden bench seats. Very simple to do with a power sander, thoroughly cleaning (and let air dry), and hand painting with a marine-grade varnish.
Water Ready
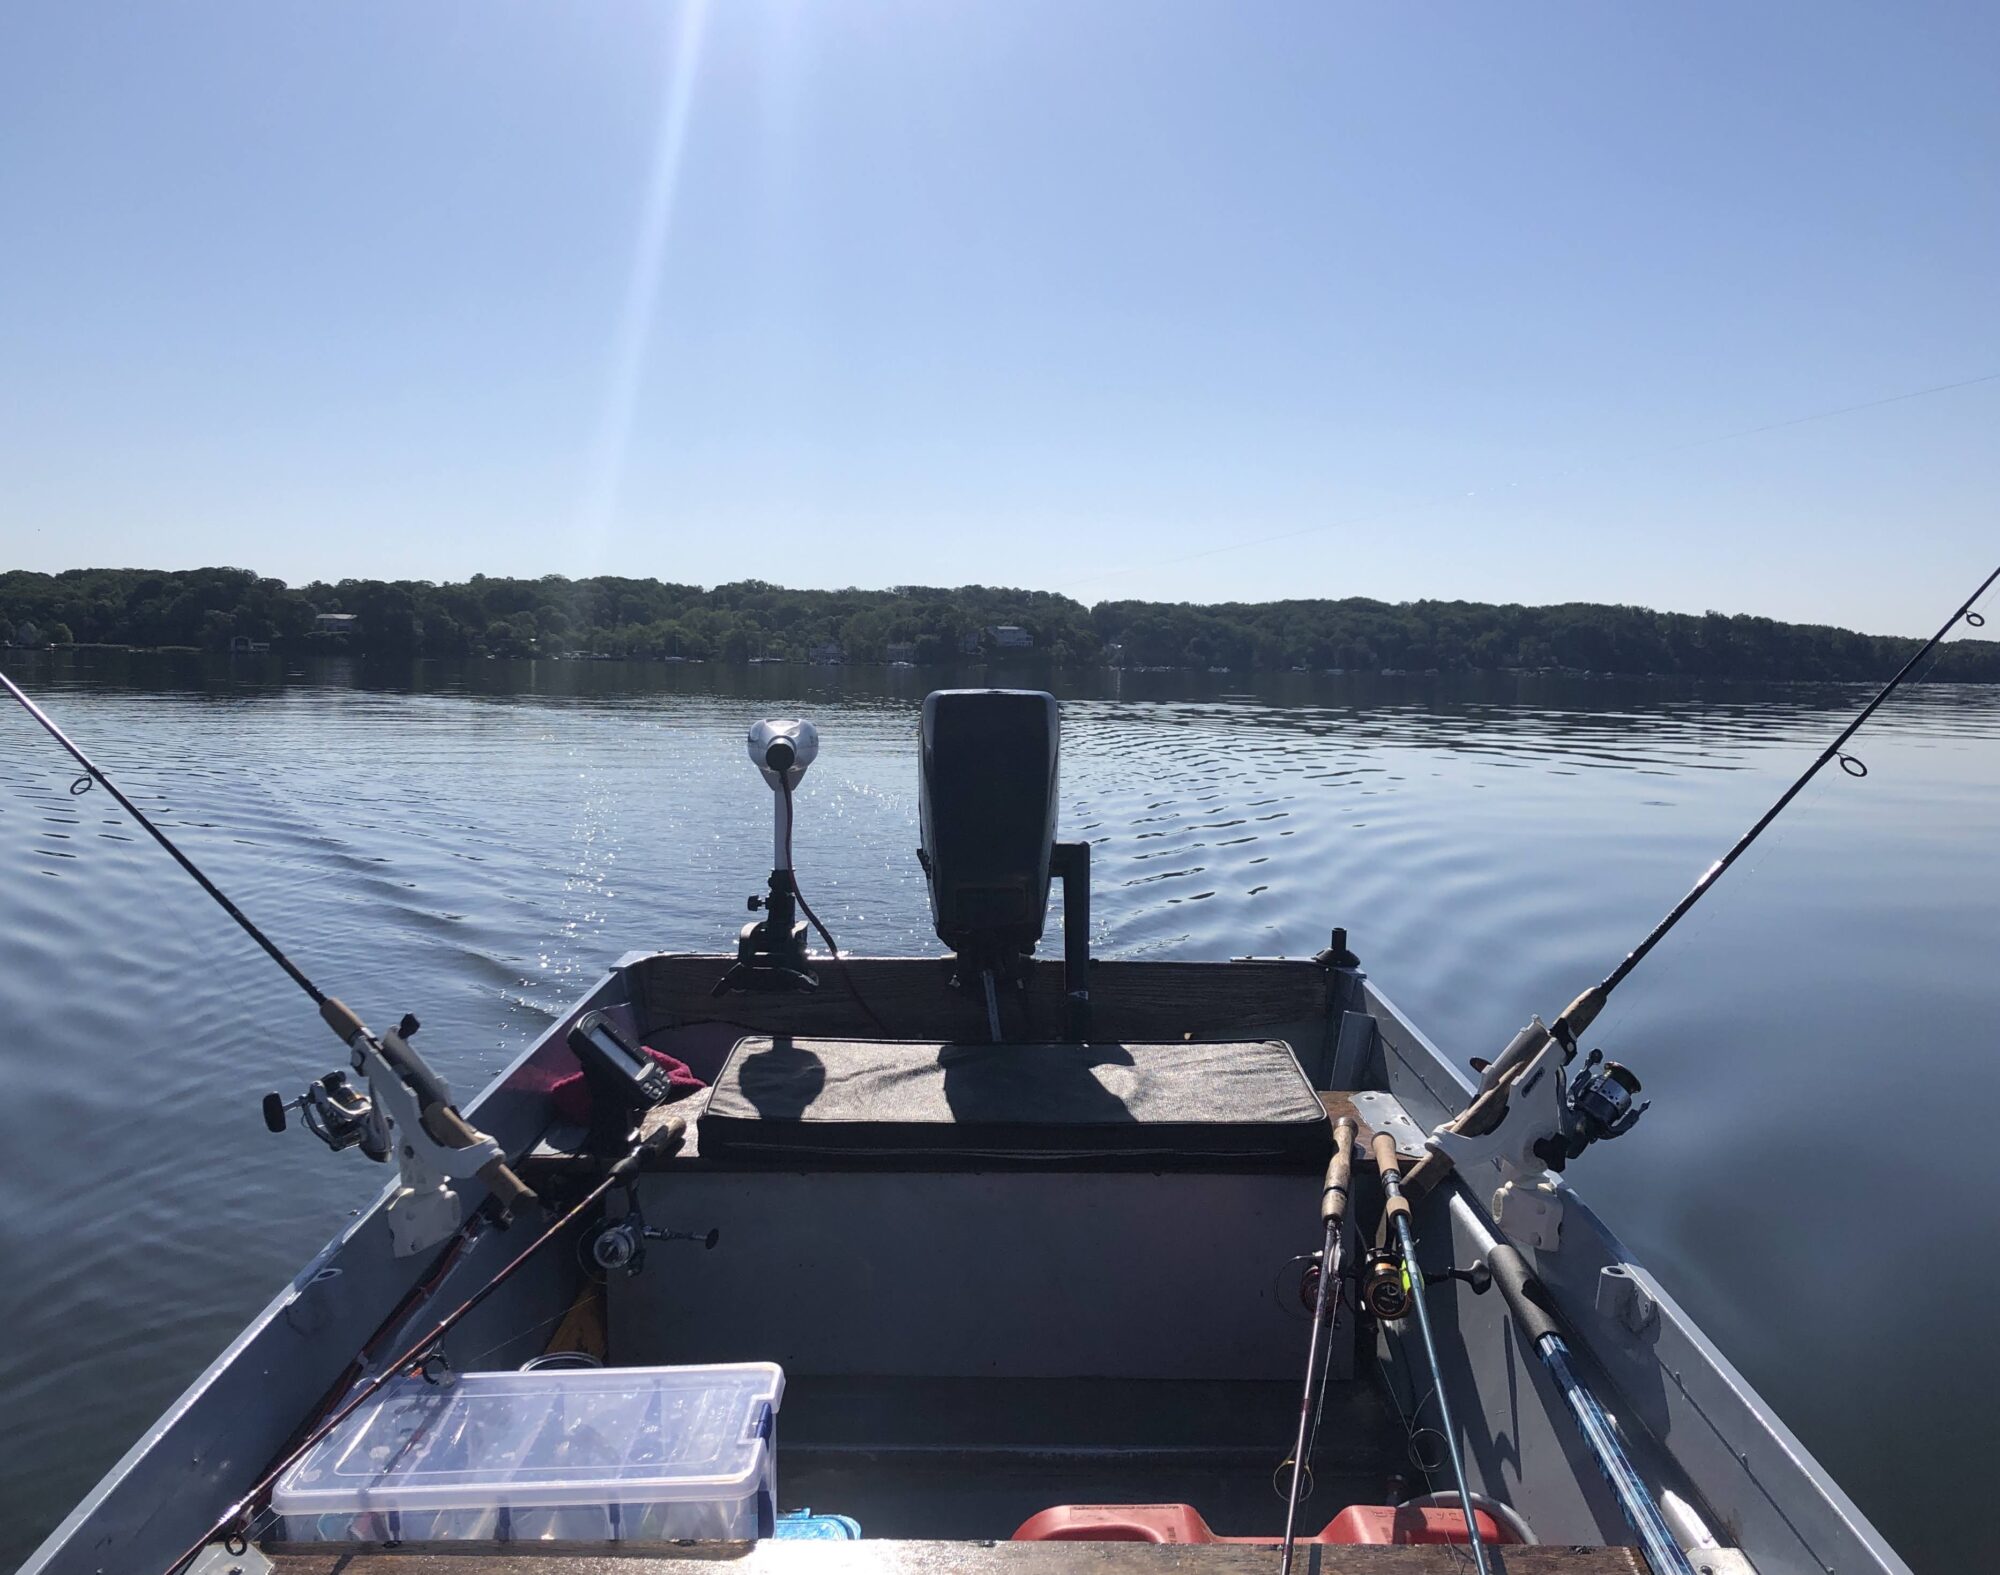
With the aesthetics complete, I could turn my attention to outfitting the boat as I saw fit. And this is something that can continually develop as my imagination and budget allows. For starters, I installed a fish finder and transducer. I elected to drill through the boat stern to run the transducer wiring; as well as drill and screw the mounting directly to the hull. I sealed these areas with Boatlife Life Seal.
To power this little vessel, I have a Johnson 4HP 2-stroke kicker motor; just enough horsepower to move up and down the Severn River at a comfortable pace. I’ll likely upgrade to at least an 8HP soon. I also have a stern-mounted trolling motor; perfect for moving between docks, and puttering around small lakes and reservoirs that have gas-motor restrictions.
Given the boat’s small size and flat-bottom, I did not have a need to build and install a fishing deck. Some folks do this on larger jon boats, building a custom aluminum or wood frame, then topping it with plywood decking and marine carpet. I also needed the extra space inside the boat for life jackets, safety items, an anchor, oars (just in case), batteries, and fishing or crabbing gear depending.
The very last step to getting this jon boat in the water involved titling and registering it with the Maryland Department of Natural Resources; a process that can be rather difficult with old vessels. As with many an old jon boat, this one had likely passed hands many times during the years. When I finally spied it, I bought it outright with cash in hand and there was no title. To make this legally mine, DNR required verification of my purchase (simple enough with a Bill of Sale) and the placement of a newspaper advertisement listing the vessel as abandoned. This is a must-do step for any undocumented vessel; public notification of the opportunity for a “rightful” owner to claim the abandoned property. After 30 days and no such claim, I was able to receive a title and registration number. After being mine for several months, this jon boat was, finally, legally mine in the eyes of the DNR.
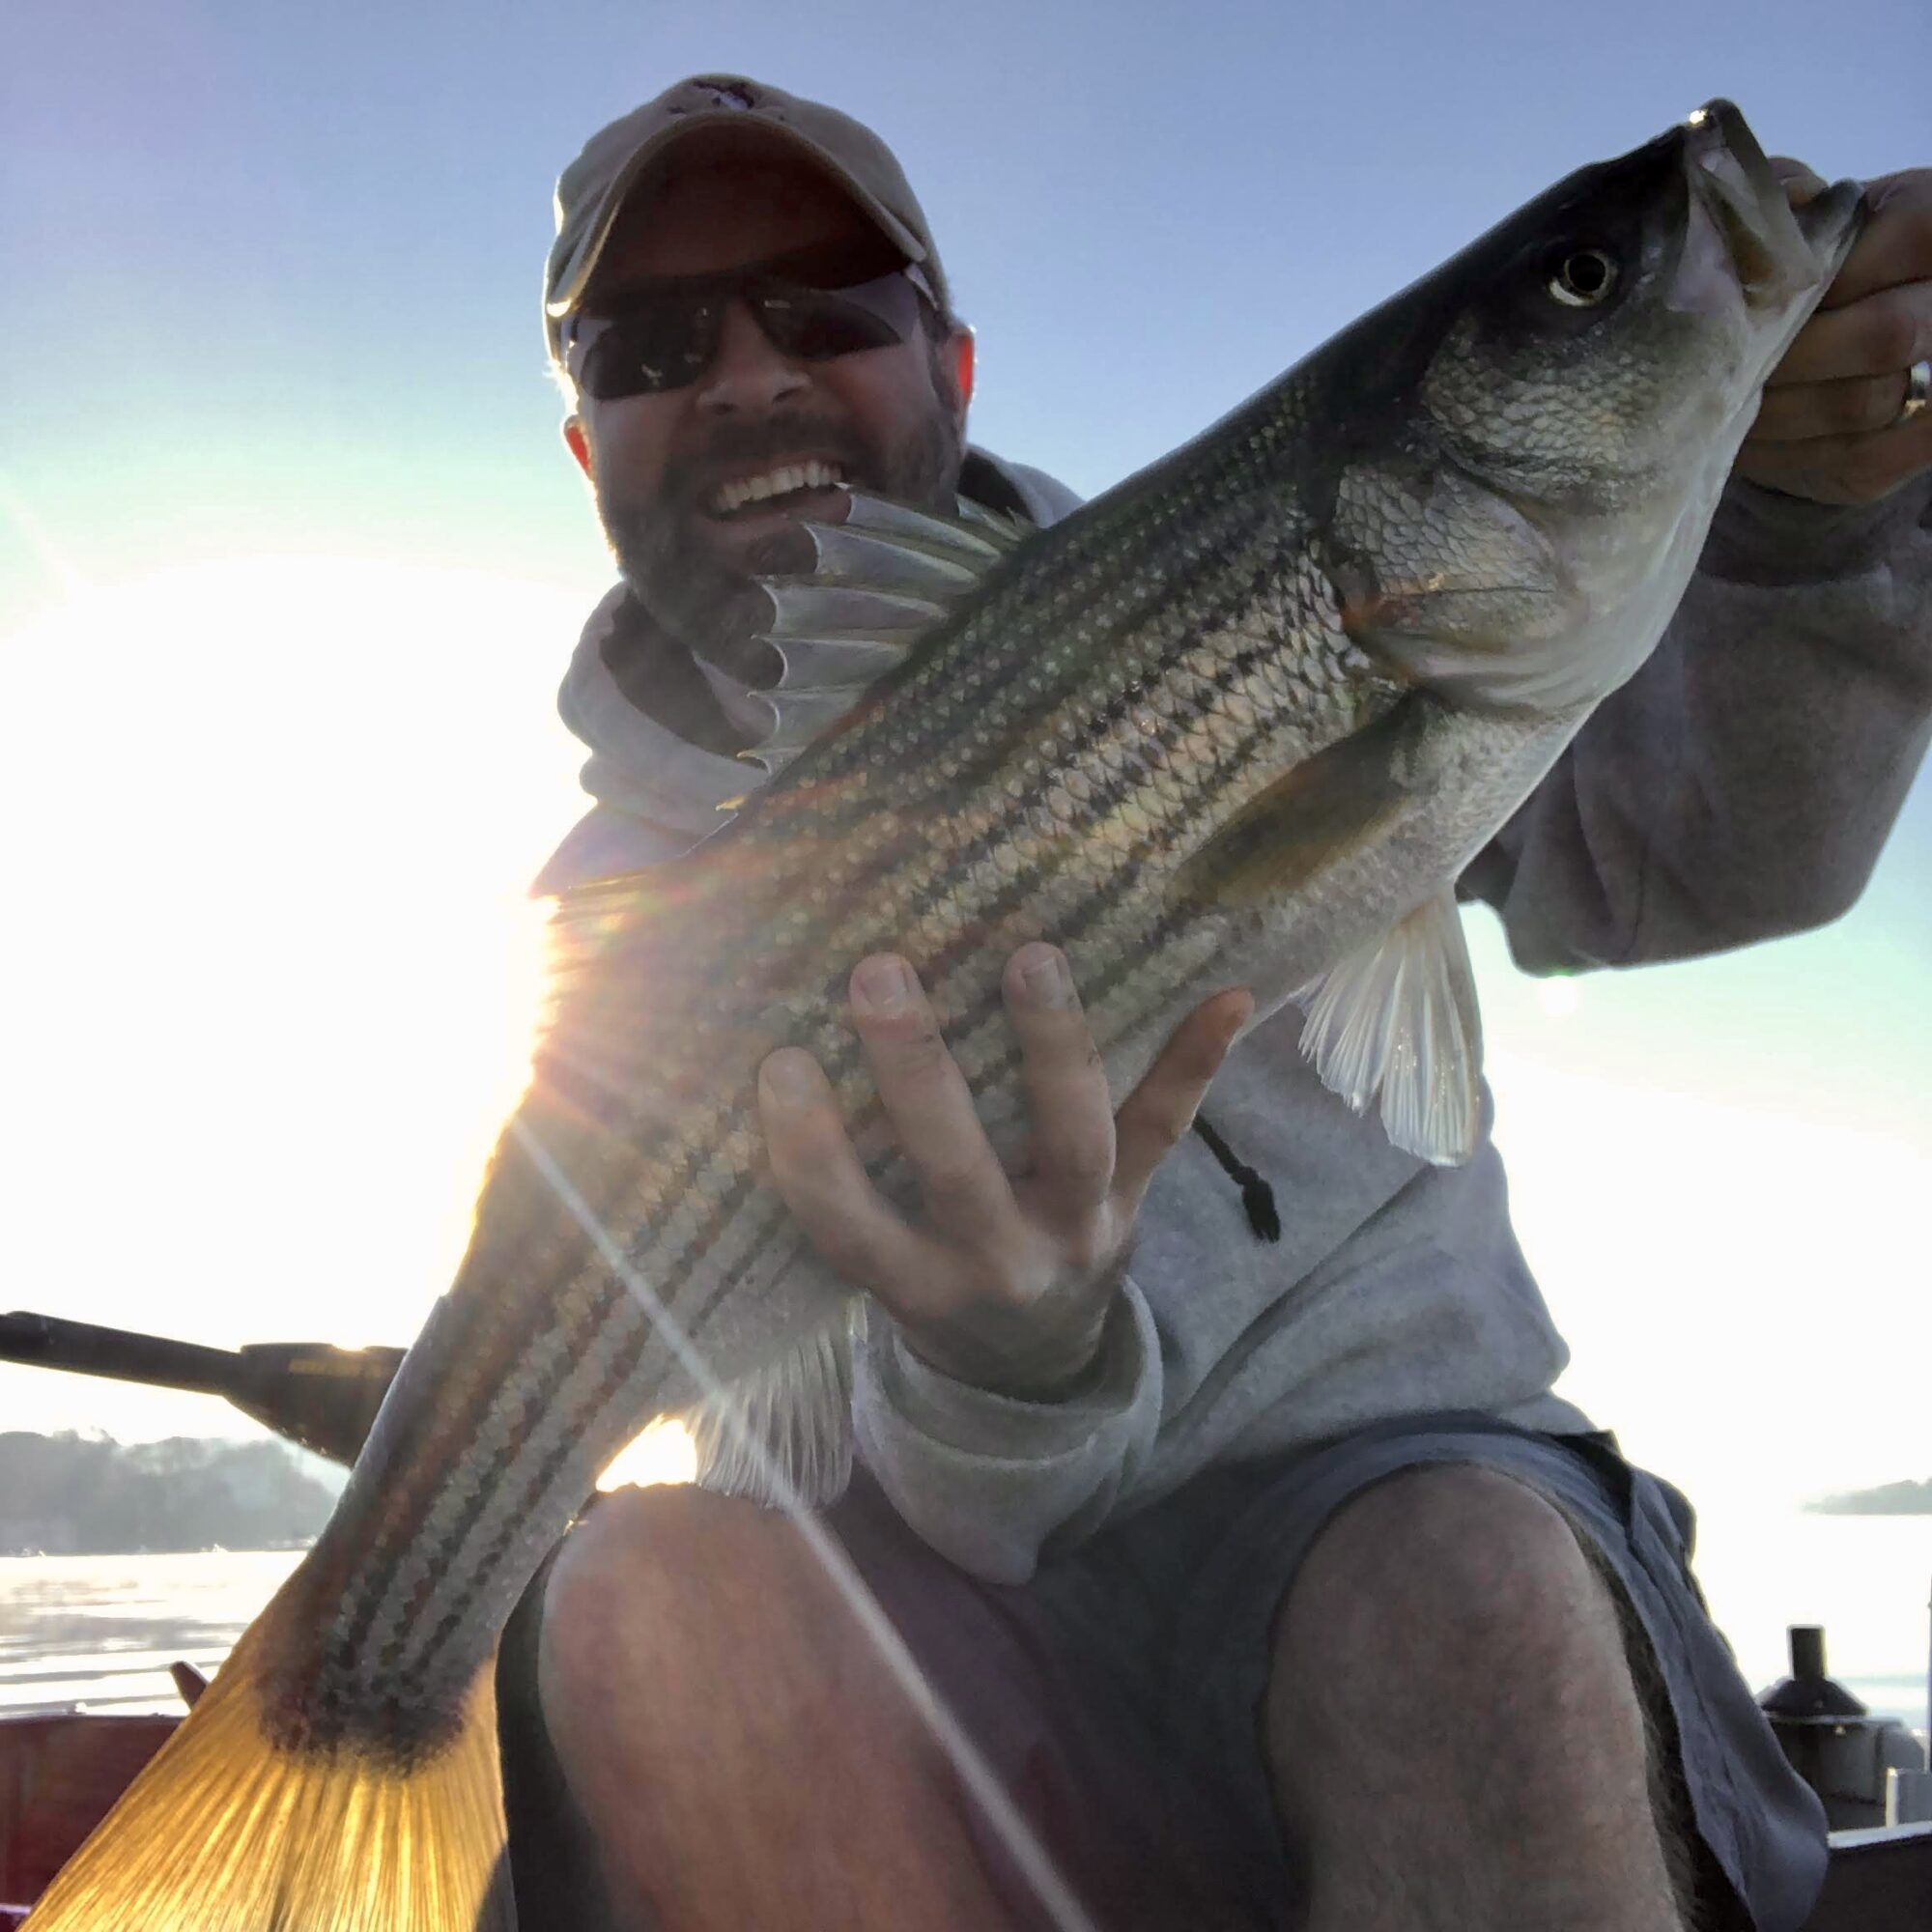
Since this restoration, I’ve enjoyed many excursions up and down the Severn River, exploring its many tributaries, fishing, and crabbing. I easily run to sunrise topwater spots for striper fishing, maneuver between docks for perchin’, and hit the grass beds in two feet of water for the pickerel bite. On those quiet sunrise outings when I’m alone on the river, I can’t help but think, “This one little humble vessel, is truly mine. I helped make this; my project, my jon boat.”
